Installation & DIY

Solar you can actually install yourself

You don't have to spend five figures or hire a crew to start generating your own power. Pick your level, from a plug-in panel to a full off-grid system, and follow a clear, safety first path.

Choose your level

Three ways in, by budget & effort

Plug-in panel
Beginner$150–$800

1 · Plug-in & balcony solar

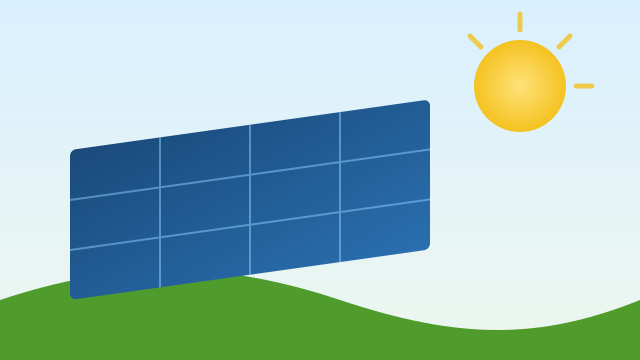
A pre-wired panel that plugs into a standard outlet or feeds a small battery. Perfect for renters and apartments. No roof work.
Weekend projectDetails ↓
Rooftop array
Intermediate$3k–$12k

2 · Grid-tied rooftop

A full rooftop array with microinverters, feeding your home and the grid. DIY the racking & panels; use a licensed electrician for the tie-in.

Part DIY, part proDetails ↓
Off-grid system
Advanced$5k–$20k+

3 · Off-grid & battery

Panels, charge controller, inverter and a battery bank sized to run independently. For cabins, RVs and full energy independence.

Serious projectDetails ↓
Level 1

Plug-in and balcony solar, the cheapest way in

A "plug-in" or "balcony" solar kit is a panel (or two) with a small microinverter that plugs straight into a wall socket, or a portable panel that charges a power station. It's the cheapest, lowest-risk way to make your own electricity.

What you need

  • A 300–800 W solar panel (rigid or portable)
  • A compatible microinverter or a portable power station with solar input
  • A sunny, unshaded spot: balcony rail, patio, yard or flat roof

Steps

  1. Mount or prop the panel facing the sun (south in the northern hemisphere), tilted roughly to your latitude.
  2. Connect the panel to the microinverter or power station.
  3. For plug-in inverters, plug into a dedicated outlet on its own circuit.
  4. Track output for a week and reposition for the best yield.
Check first: plug-in "backfeed" setups are popular in parts of Europe but are not permitted on all grids or by all utilities. Some regions require an approved micro-generation agreement. If in doubt, use a battery power station (which never feeds the grid) or confirm the rules with your utility. Never exceed a circuit's rating.
Level 2

Grid-tied rooftop, the household workhorse

This is the classic home system: panels on the roof, a microinverter behind each panel (or one string inverter), tied into your main panel so solar powers your home first and exports the surplus.

What you can safely DIY

  • Planning the layout and sizing the array (see Solar Costs)
  • Installing roof attachments, rails and clamping the panels
  • Running the DC/AC cabling to the tie-in point

What to leave to a licensed pro

  • The final connection to your main electrical panel
  • Permits, inspection and utility interconnection paperwork
  • Any work where local law requires a licensed installer for incentives to apply
Money tip: a hybrid "you mount, they connect" approach can cut labour cost substantially while keeping your install code-compliant and incentive-eligible. Get the interconnection rules from your utility before you buy hardware.
Level 3

Off-grid & battery systems

Off-grid means you generate, store and manage all your own power. It's the most involved build, but the most independent, ideal for cabins, RVs, workshops and resilience.

Core components

  • Panels sized to your daily kWh use plus cloudy-day margin
  • Charge controller (MPPT) to manage panel-to-battery flow
  • Battery bank. LiFePO₄ (LFP) is now the safe, long-life default; sodium-ion is emerging
  • Inverter to produce household AC power
Safety: battery banks store serious energy. Follow the manufacturer's wiring, fusing and ventilation specs exactly, and have a qualified electrician review DC battery wiring. Lithium batteries need correct fusing and a BMS.

A safety checklist before any solar project

  • Confirm permits & utility rules for your address before buying.
  • Never work on a wet or steep roof without fall protection.
  • Panels produce voltage in daylight, so cover them while wiring.
  • Match wire gauge, fuses and breakers to the current. Do not guess.
  • When in doubt, hire a licensed electrician for the connection.